Our Modern Small Kitchen Remodel

What We Were Working With...
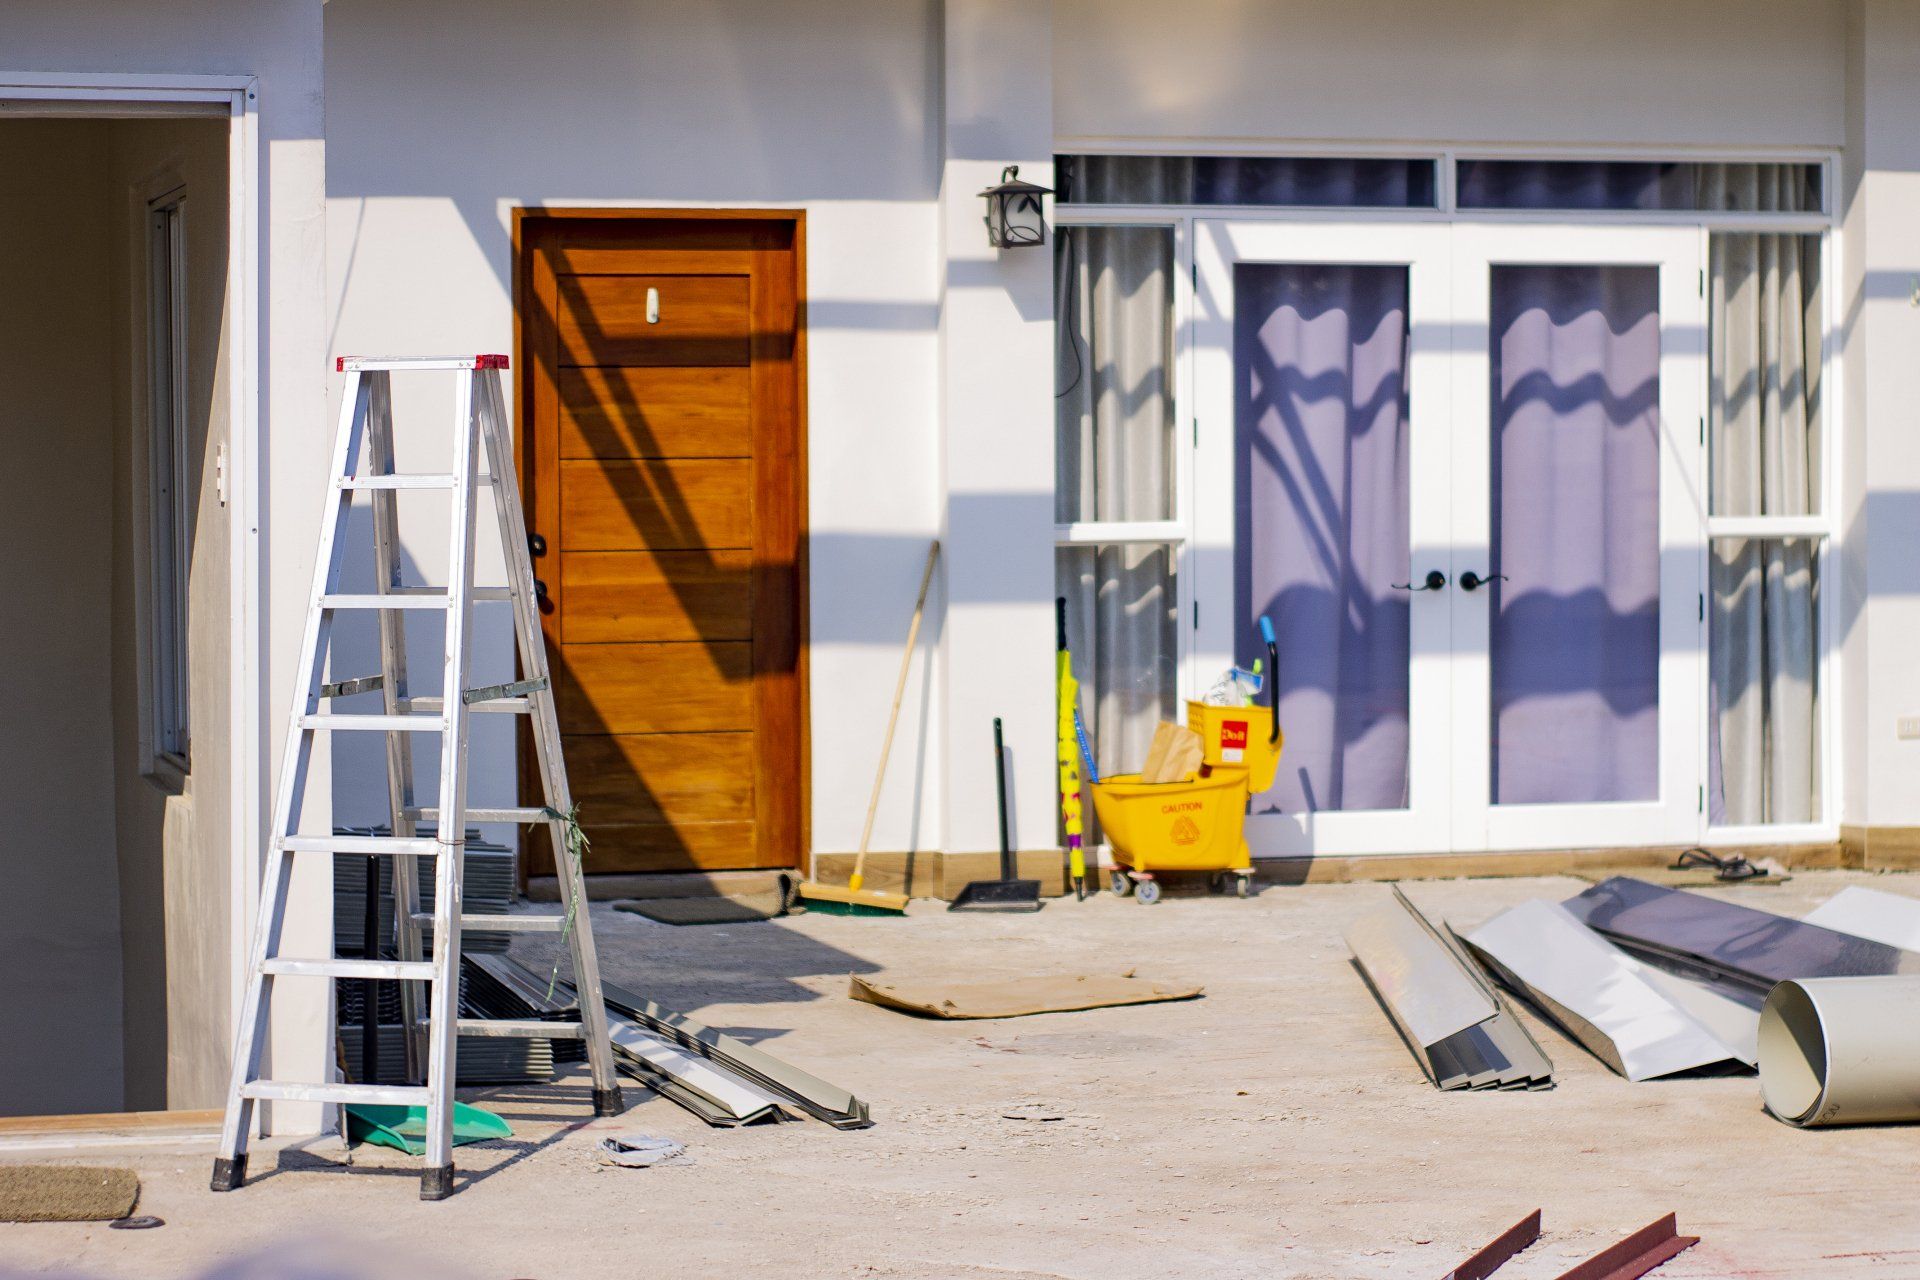
In order to understand the extent of this project, you need to understand what the kitchen was like when we bought it. We loved the house from the get-go - it was the perfect size, the garden was a hidden oasis (complete with an orange tree), and it was brimming with potential!
There was a cute old fashioned stove, and quaint tiles around the countertops. We love that we get to live in a home with so much history, but it certainly didn’t feel very ‘us’. We also knew that space was a priority! After two full years of living on the Skoolie, our dream was to have an open-plan kitchen, living room, and dining area so we knew we were committing to some demolition work to see our small kitchen remodel dreams come to life!
Small Kitchen Remodel: Open Space
We ended up knocking down two of the four walls of the kitchen in order to create a beautiful open plan area. With the addition of our breakfast bar countertop, the kitchen still has the illusion of feeling separate from the living space - but I love that I can chat with the kids about their days at school while we cook a meal together in the evening. We have managed to create a bright, open space that feels warm and welcoming. It is everything I had imagined!
Since we’re living in an older home, we needed to work around the infrastructure of the house that already existed. We married the old with the new - for example, did you know that we blended original hardwood with new wood in our kitchen? With a little bit of Pinterest inspiration, I started to dream up ways that we could incorporate a new beam structure into our breakfast bar.
Our Pine Beam Process
The pine post is one of my favorite elements of the kitchen. It feels natural, earthy, and pure amid our modern white decor. I love this juxtaposition - it feels so characterful and so true to who we are as a family of adventurers!
It wasn’t an easy process by any means! It was important to us that the pine beam meshed well with the white washed red oak floor boards. If you
follow us on Instagram then you would have been well aware of this process. We even invited our audience to help give us feedback through the polls - this was HUGE in helping us hone in on making decisions. Sometimes remodeling can get overwhelming and Instagram helped make the experience interactive and communal every step of the way!
Finishing the raw wood beam was a 3 step process.
- We had to make sure that the wood was duly cleaned.
- We needed to stain the wood to take down the color tone. We settled on using Minwax USA golden oak, since it wasn’t too orangey, and it kept the white / grey tone of the pine that we loved.
- The final stage was the sealing. We did so with Minwax white wash pickling in a thick layer over the top of the stain.

I love our beam. It isn’t perfect: if you look closely you can catch grey stains and freckles that didn't come out in the soap or sanding processes. But we’ve learned how to lean into a “done is better than perfect” attitude with our remodel. We aren’t professional renovators. Choosing to do this ourselves meant choosing to say ‘yes’ to imperfections along the way. We’re just grateful for the opportunity and experience to truly make our house a home.
Our Concrete Countertops
Embracing our minimalist, modern look has been key to the process of our renovation. Our concrete master bathroom is one of my favorite rooms in the house, and I love that we chose to nod to the concrete theme in our small kitchen remodel too! By this point in the renovation, Gabriel and I were concrete experts - and I’m so proud at what we have been able to accomplish.
The Breakfast Bar
Creating our breakfast bar was one of the most high-risk and exciting moments of the entire process. We initially constructed beams and frames in the shape of our countertop, which would serve as the moulds for the countertops themselves. Each side had a one inch overhang that would allow us to create beautiful, straight, sharp corners! The forms were lined with a thin fiber-glass mesh and horizontal rebars that helped to create a structure that holds the concrete together (and ultimately prevents it from cracking).
We then covered the entire kitchen in plastic to make sure that every surface was safe before we started the process of pouring the concrete. We used Kwikrete Concrete, which was a system from Z Countertop (two friends of ours had actually recommended these to us!).
This was another three part process. One that Gabriel and I tag-teamed over two long and exhausting evenings while the children were asleep. These are the stages:
- Screed - This involves using a leveler to push and pull the concrete so that it is smoothed into a straight surface top. It's okay to still have bumps and small divots at this point in the process.
- Floating - We used a magnesium float for this portion of work. It is a flattening technique for when the concrete is nearly dry.
- Steel Trowel Finish - This is the final step in the process, and will make the concrete beautifully shiny and smooth. This is the final opportunity to make sure that there are zero lumps and bumps! (Tip: Make sure that you are regularly cleaning your trowel off so that you get the full effect of the smoothing!).
The concrete countertops took two full days to dry. This process was fascinating - we were watching eagerly as the concrete was settling into the stunning pale color that we wanted. We could literally see the impact of the heat throughout the house affecting the drying rate of various sections.
Once dry, the slabs could be sanded and sealed, after which we were able to take off the forms and stands and let the countertop stand freely. To say I was nervous was an understatement! The sense of pride and achievement when we took the final stand off, and the counter top was suddenly very real in front of us, was stunning! Despite the stress and the intensity of the hard work, this was such a pivotal and key project for Gabriel and I.
Once the forms were off, we went about a final process of sanding off the concrete, and filling any tiny air bubble holes that had appeared on the counter top sides with small rubs of excess concrete to make them less noticeable.
Our Small Kitchen Remodel: Final Details
Hanging Shelves
Our family’s style is truly minimalist. We love simple, elegant objects, in muted or monochrome colors. This was true on the Skoolie, it is true of our fashion sense, and it is absolutely true in our new home!
One detail that I absolutely love in our small kitchen remodel are our floating shelves. Initially, when we first put the hanging shelves up, I was a little freaked out. They were a later addition, and I had got so used to the space above the sink being clean and bare. Now, I’ve come to love them. They are the perfect height, super stylish, and they help keep our clutter up and out of eye line, which makes the kitchen feel clean and open at all times!

Cabinets
We built our cabinets out ourselves. This was an exhausting process, but one that I’m so grateful for. You might remember from our Instagram Stories, the painful measuring process, ensuring that every 45 degree angle was precise and that everything held together in a way that was perfectly aligned.
Faucets and Details
I’m a HUGE fan of Vigo sinks and faucets (you might remember that we had these on the Skoolie too!). They are sleek and stylish, and I adore the matte black finishings - this has been a common theme in our decor. Within our small kitchen remodel, I’m most pleased with our:
- 36 inch Vigo Sink
- Matte black Vigo tap faucets
- Our matte black silverware
- Our beachy, alifornian light shades from Anthropologie
- Our four blade matte black fan (This was a steal! Typically retailing for $200, but we found ours on sale on Amazon for $150!).
- Our black aluminum Counter drawers
Biggest Lessons
Our open plan kitchen / living space is one of the most integral areas of the house. It is our key communal space. For this reason, it needed to be a space that we were proud of, and wanted to spend time in.
It truly is my favorite room in the house. It is a room I’m proud to host in. A room I love getting to sit around a table with my family in. A room I catch myself smiling in every morning as I make my coffee and start the day right. It is a room that I look forward to building many memories in. I can’t wait to celebrate birthdays in this space, to cook Thanksgiving meals, to host our visiting relatives, to watch the kids grow (until they’re old enough to be cooking dinner for me!).
And I love that Gabriel and I will always get to have the memories of creating this perfectly imperfect space together through the years to come. I don’t think I could have ever imagined our small kitchen remodel turning out so perfectly.
Ready to tackle your own home remodeling? Before you start, check out our recent blog: Home Remodeling: 7 Tips Before You Start!
SHARE US ON:
PREVIOUS POSTS