Tour of Our Modern Skoolie Interior
Take a Tour of Our Skoolie Interior!
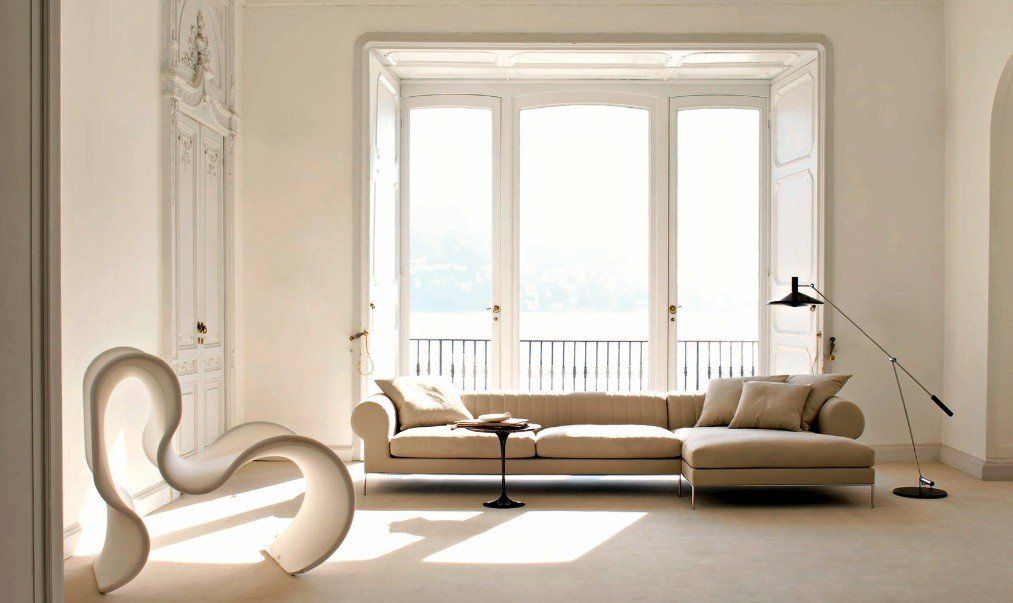
Our style is very modern and clean, with lots of white, greys, and black. We took a lot of inspiration from
Scandinavian minimalism as we dreamed up our perfect home-on-wheels.
During the design process, we drew up floor plan after floor plan - and after we settled on one, the reality of actually doing the renovations meant that certain things about the Skoolie interior inevitably changed in the process. One top tip for designing your own Skoolie interior is to tape your floorplan onto the floor - this was super helpful for us to get an idea of the flow.
Living Area
We knew from the beginning that we wanted to have an open-plan living space and kitchen. You can tell from our Skoolie interior inspiration Pinterest board that having an open space was a high priority for us!
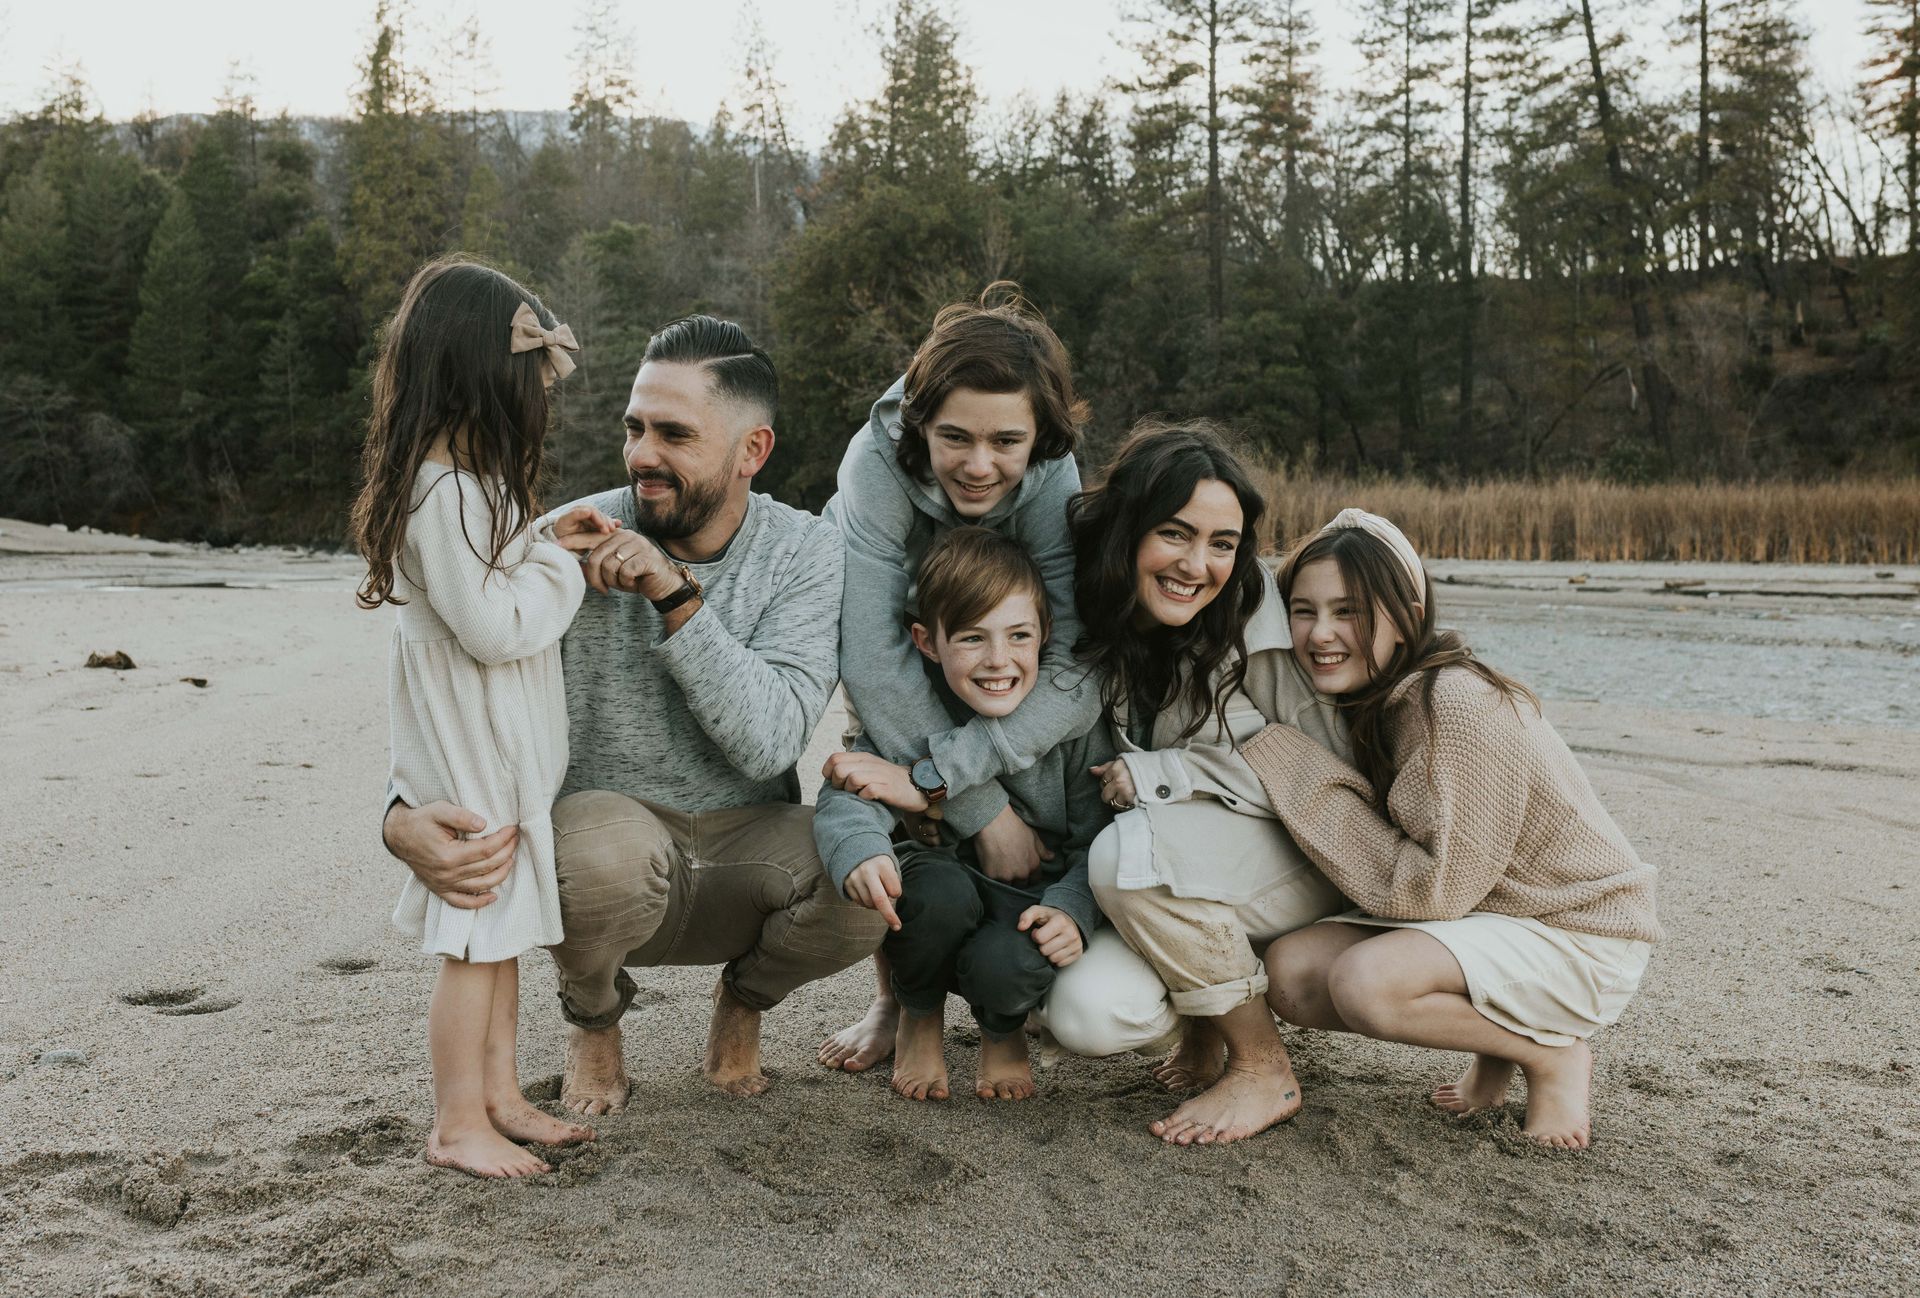
With a family of six, plenty of seating was needed so we went for two couches: keeping them running along the bus meant that the living space flowed naturally into the kitchen space. We also reduced the depth of the couches to make the area feel as spacious as possible.
We love hosting, and we didn’t want that to stop just because we were living on a bus! The living space couches folded out to create a full bed so guests could even stay the night.
One nice thing about this set-up was that when I or Debbie were at the wheel, we were close enough to where the rest of the family was hanging out that we could still chat and feel connected. Family time was a huge reason we made this lifestyle leap in the first place, so we definitely kept it in mind as we designed the Skoolie interior.
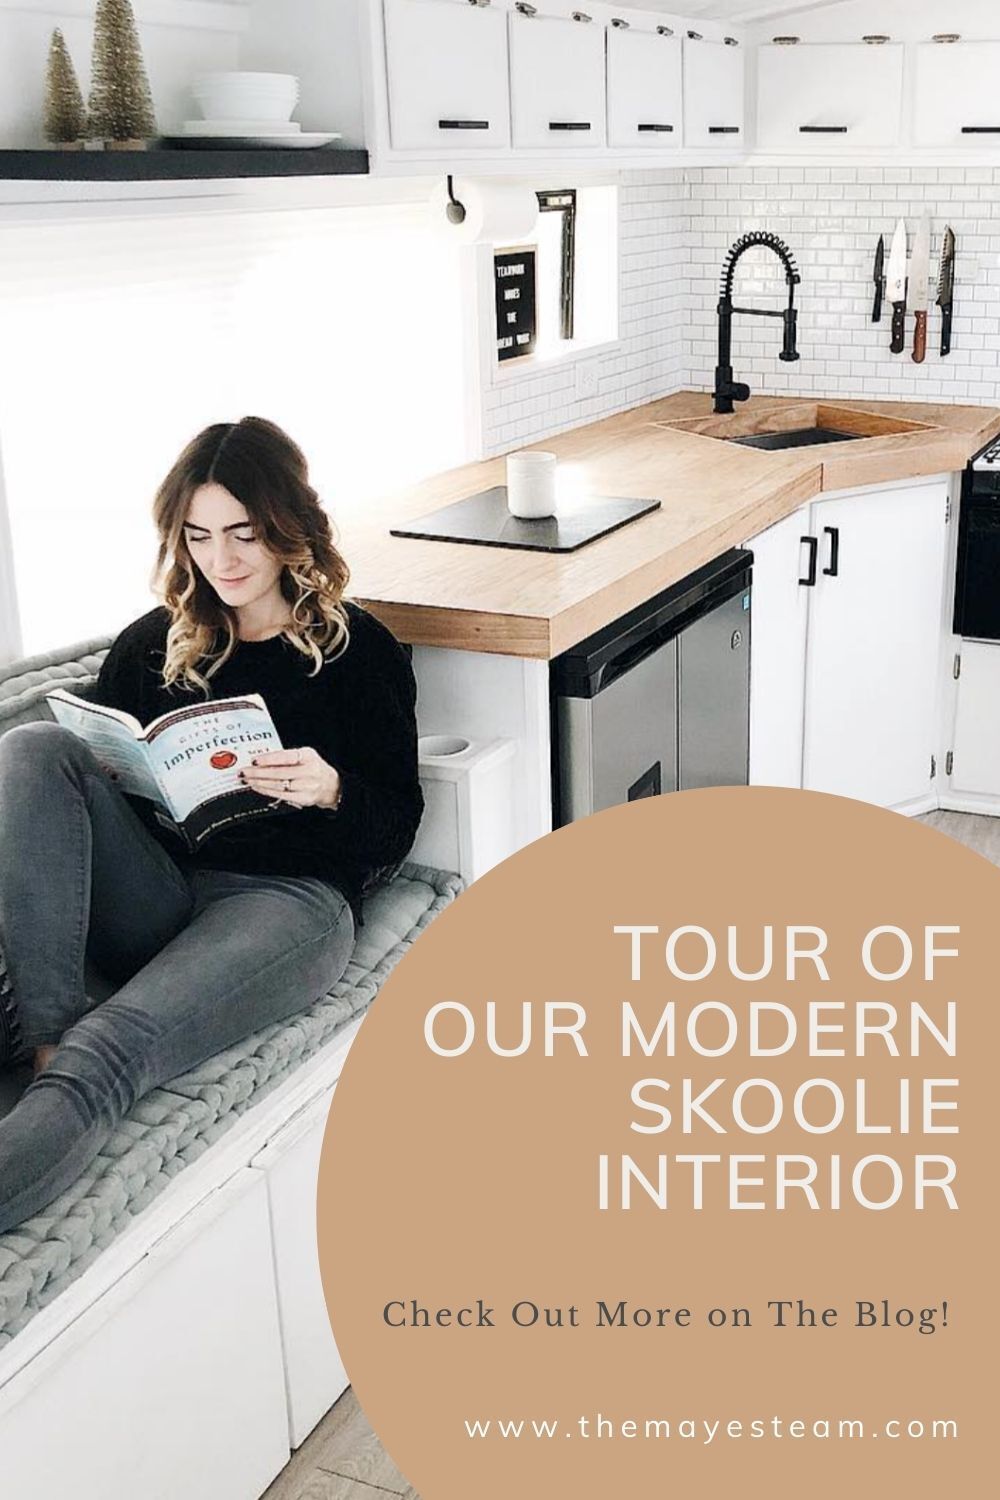
Kitchen
When I was looking at other Skoolie conversions, most of them seemed to keep the center-aisle structure. You could stand at the front of the bus and see the whole Skoolie interior. But, nope! I didn’t like that idea, both from a privacy standpoint and for eye rest - so we looked for creative solutions.
Eventually we came across the idea of the L-shape you see here. I love how it divided the bus into clear sections, leaving the sleeping areas private, and allowing us to keep an open-plan in the front part. This meant that when the kids were in bed, Debbie and I could spend time together without waking them up.
Our kitchen had a fully functioning stove, oven, sink and fridge. We knew we wanted enough counter space to be able to cook properly, so getting the balance of counter space and appliances was tricky - but in the end we created a space that we really loved.
We debated over what to do with the backsplash. Ceramic tiles were our first thought, but a little research showed that these can end up running into issues on the road. In the end, we went for peel-and-stick tile, which is a choice I didn’t see coming but they stood the test of time. I like how they add texture to the room without it being too busy.
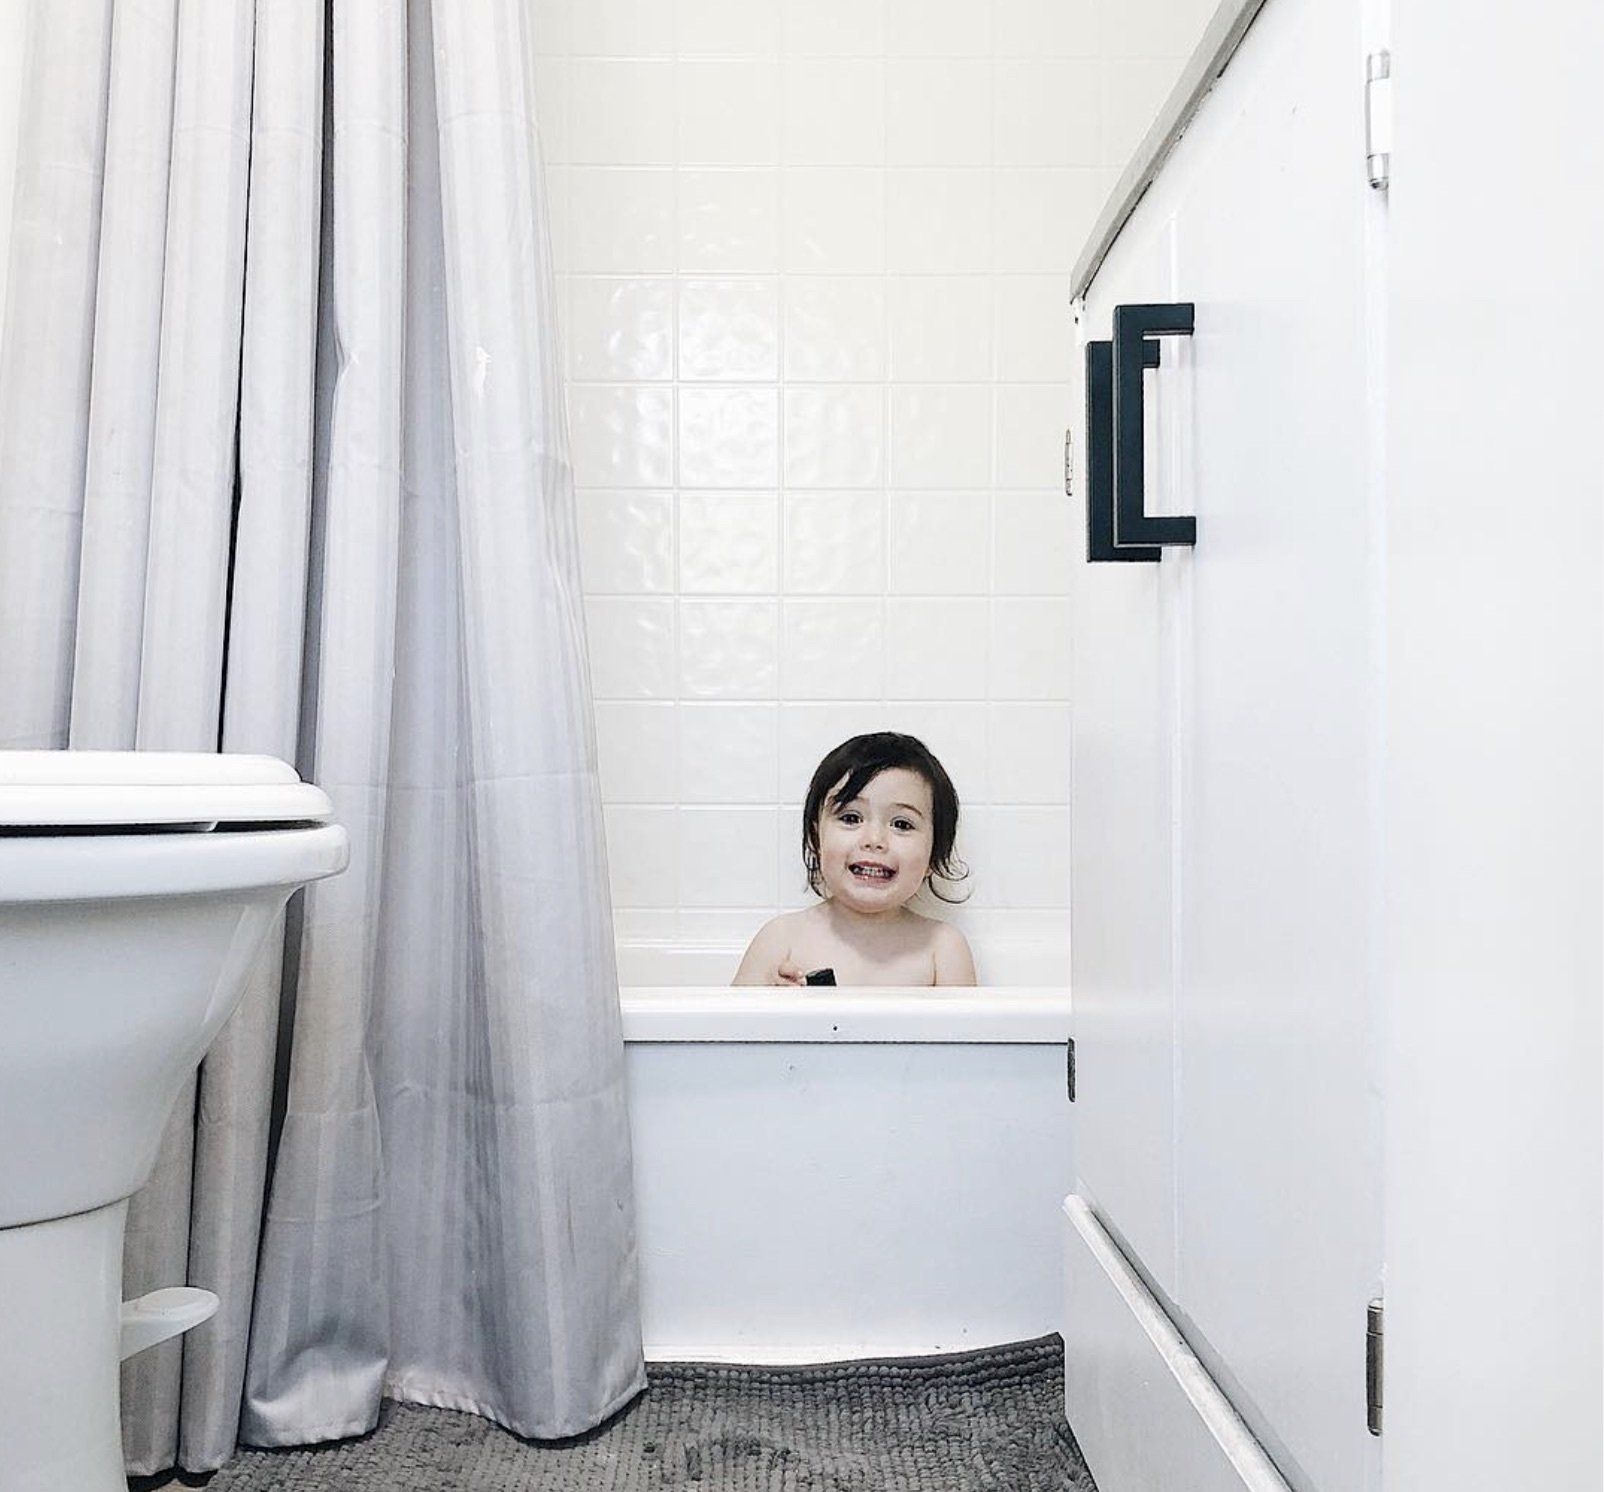
Bathroom
When we set out on our
Great American Road Trip, our kids were young enough that we knew a bathtub was a necessity so we installed a mini one. As they grew, we used the shower and bathtub less and less, because RV parks normally had pretty good facilities. So, if you’re thinking about designing your own Skoolie interior, it’s worth considering what you’ll really need in your own
tiny bathroom.
Kids’ Room
Bunk beds were a no-brainer for us - the easiest way to make use of the space, plus our kids thought they were super fun! The ones we installed are actually narrower than a typical bunk, which helped to increase the aisle space.
We made sure to have closing doors installed on either side of the kids’ room so that they could have space from the main living area on one side, and so that our bedroom had privacy on the other end. Breaking up the Skoolie interior like this goes a long way in making it livable!
Master Bedroom
When we set out to design the Skoolie interior, a private bedroom was a non-negotiable. In the end, we had to climb up into our bedroom because it’s perched above the engine. We had a full bed installed and the little space that was left over wasn’t worth keeping as floor space. Instead, every spare inch was devoted to storage. This worked incredibly well - so well, that we actually had more space than we needed!
Roof Deck and Awning
The roof deck was our splash of luxury - the only thing on the Skoolie that was just for fun. But being able to sit up there with the kids and watch the sunset was such a special part of every road trip - I’m so glad we went for it.
The awning was something we wanted from the beginning, but we actually didn’t get it installed until about a year into living in the Skoolie. It was a game changer! Creating an outdoor space really made the Skoolie interior feel much more spacious.
Final Thoughts
If you’re considering designing your own Skoolie interior, I hope this is helpful for you to see what we did with ours! Creating this project was challenging and satisfying like nothing else, and I’m so glad that we took the plunge and did it.
For more information about where we got the furnishings and decorations that turned our Skoolie interior into a home, check out our Mayes Team Shopping Spree. And if you want to get into the nitty-gritty details of what a Skoolie interior conversion like this costs, our guide to how much you should expect to pay is here.
DID YOU ENJOY THIS BLOG POST? PIN IT FOR LATER...


SHARE US ON:
PREVIOUS POSTS